
T1N Sprinter Van Restoration/Body Work: An Overall Summary

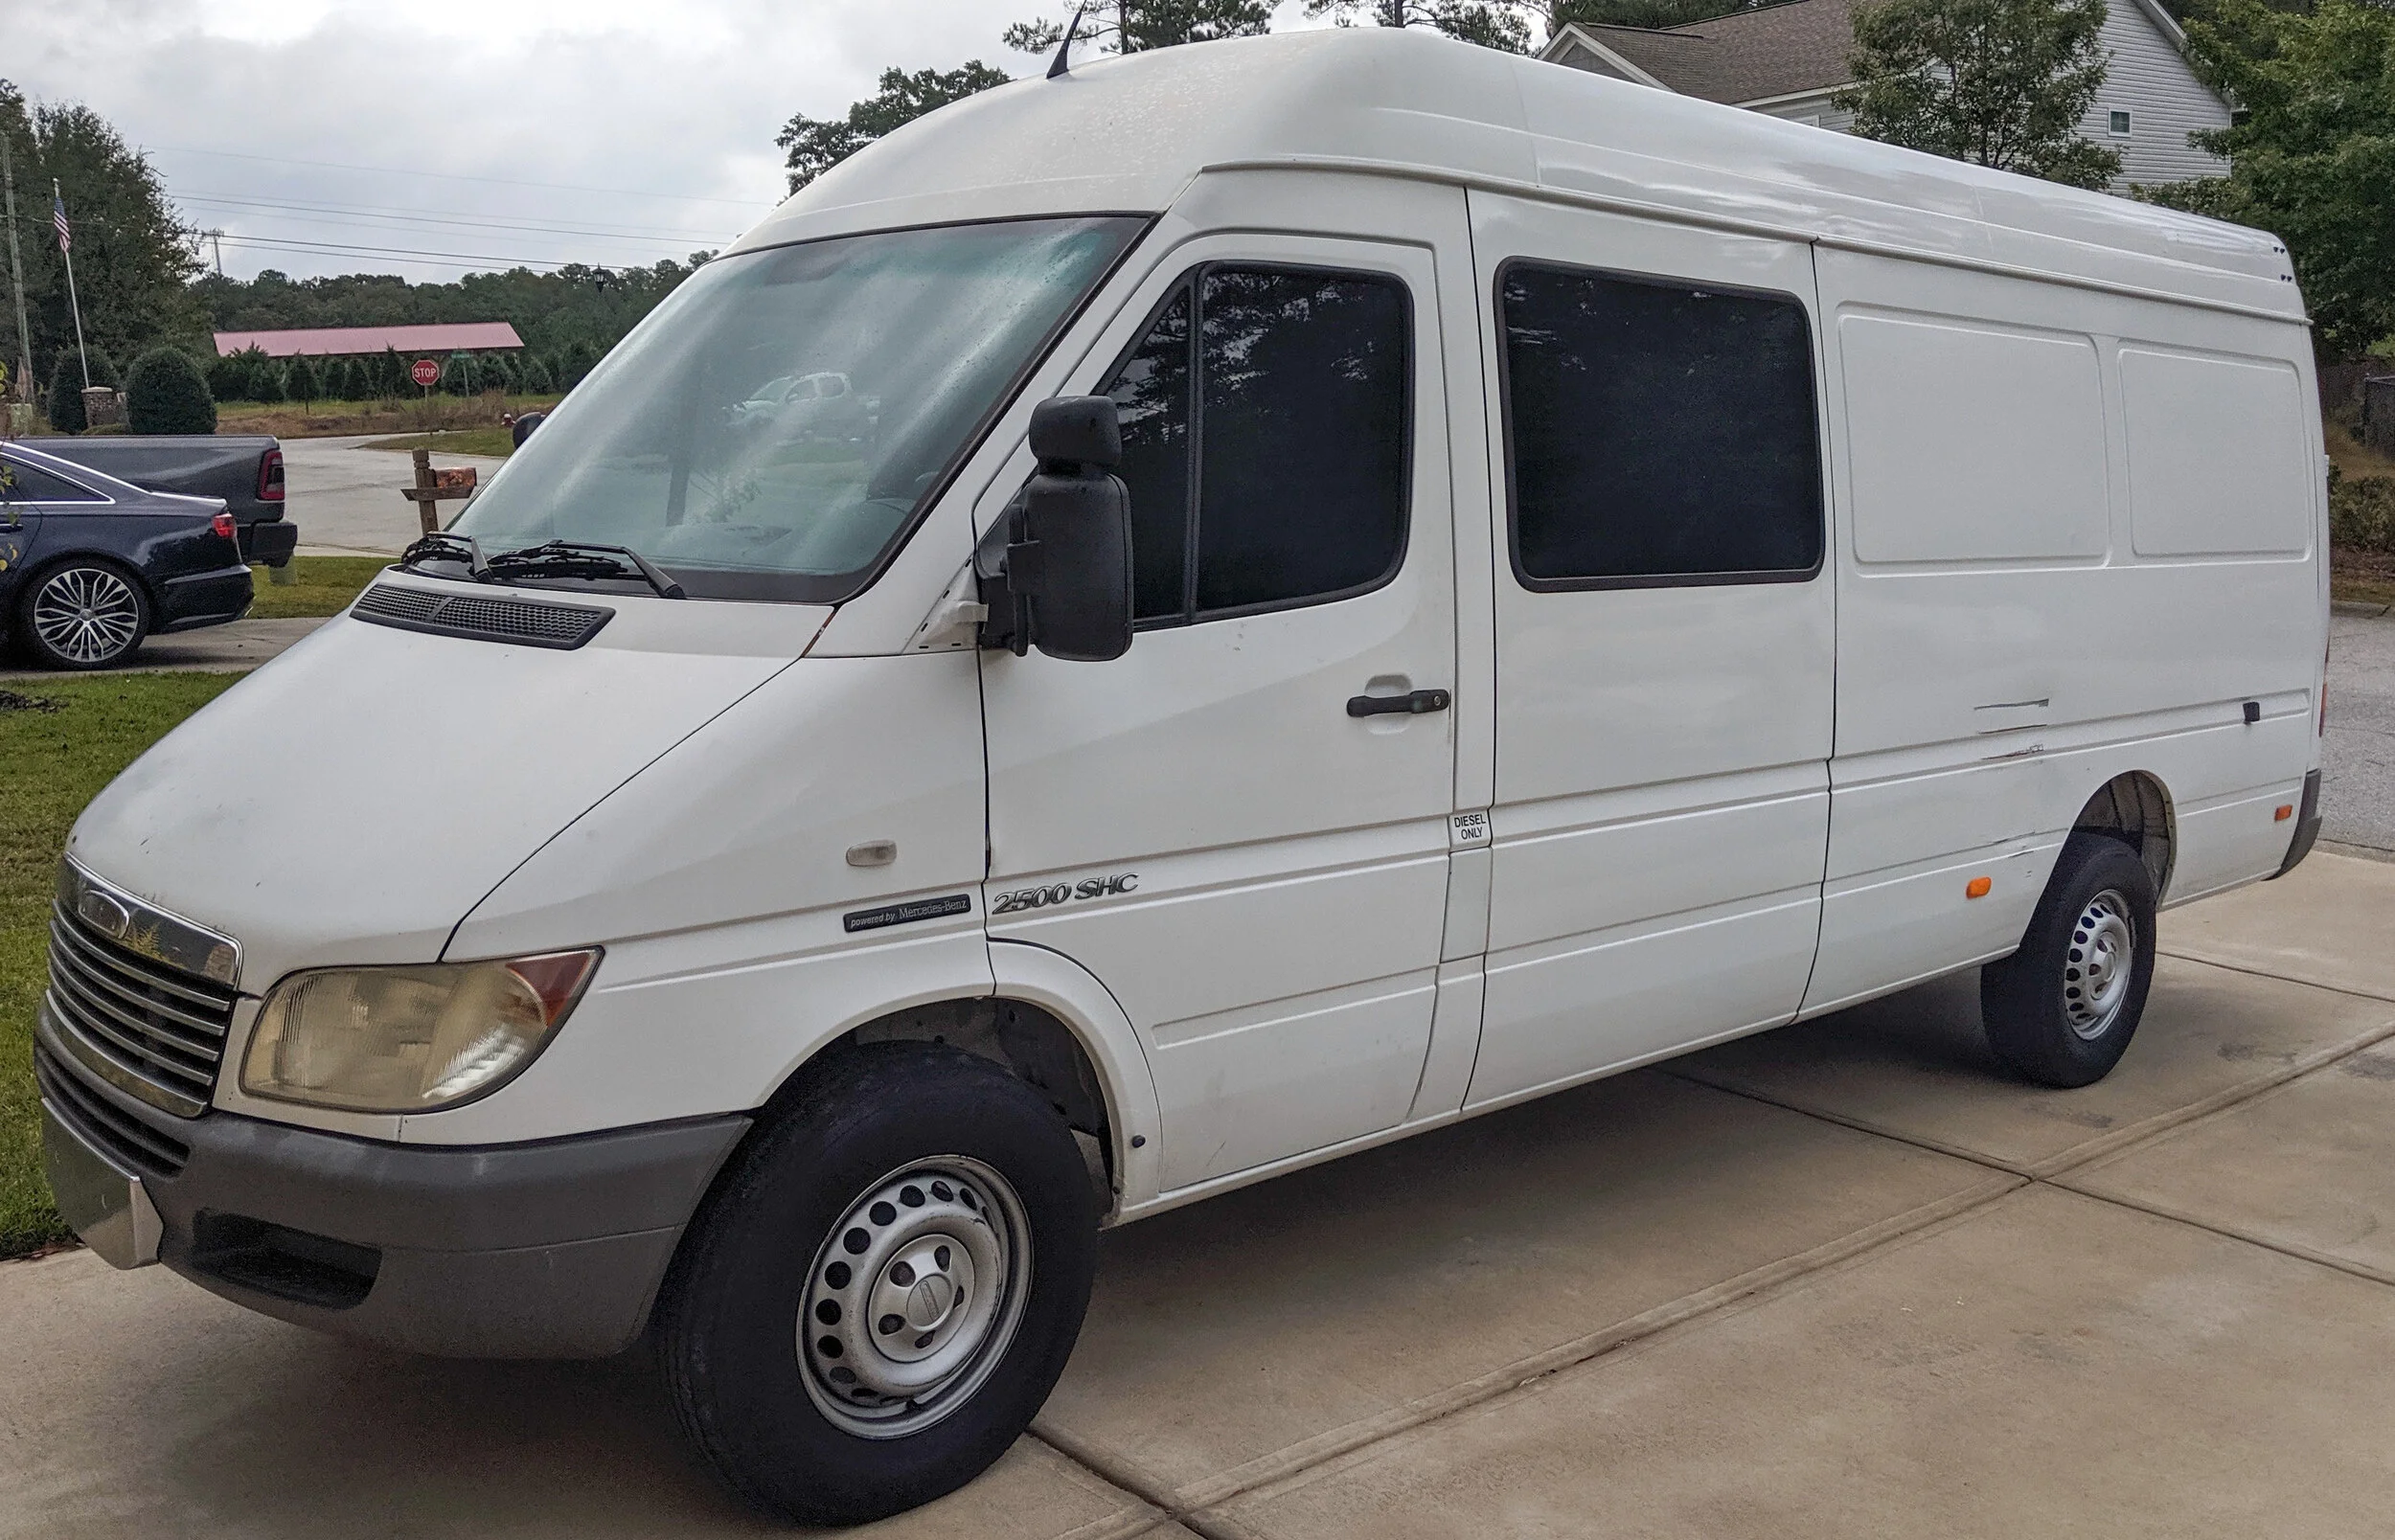
Meet our “new” to us 2004 T1N Sprinter!
First, as usual, a little background on what exactly we were trying to achieve here and the resources we had available to us. We’re two 26 year olds with full time jobs and two golden retrievers that are converting a cargo van into a camper van to create a livable adventure vehicle. We chose to bring home a 2004 T1N Sprinter that was pretty rough around the edges. We personally wanted the exterior of our van to match the luxurious finishes we would be including on the inside. For this reason, we decided to give it a full makeover/restoration before we began our interior build. We didn’t have any experience with vehicle bodywork, but luckily had a family member that had restored several older vehicles. With their help we were able to transform our van into a new, modern vehicle that fortunately no longer looks its age.
We’ve been working on our van’s bodywork for approximately 3-4 months with the help of the above mentioned family member and a few friends along the way. All the bodywork is DIY and we didn’t have a paint booth available. Therefore, we did all the painting of our van outside. While a garage is typically used for such projects to ensure a controlled environment for sanding, surface prep, and masking, we managed without one. We live in the South and if we hadn’t finished our bodywork when we did, we would’ve had to wait a month or so due to the pollen and the tricky nature of painting outside. Hence, we’ve been working really hard to get it done in a timely manner.
If you’re debating buying an old van and restoring it, don’t let our timeline frighten you! We both work full time jobs and were only able to work on the weekends when the weather was just right.
Throughout the last few months, we’ve been updating you guys via YouTube videos on the process of our van restoration in depth. All of these are still all available for viewing on our channel if you’d like to hear more about each step covered in this blog. But for now, let’s dive into an overall summary of our most significant steps and a little bit about our process specifically.
DENT REMOVAL
One of the first steps we had to take was addressing all of the dents the van had. Some of the dents were so significant that we were forced to drill holes in the body panels in order to fix them. Once the holes were drilled, we used bolts to pull the metal back to its original shape. We later had to weld all our new holes back together. Other dents were minor, and we were able to hit them with a hammer, which helped us form the metal back to its original T1N Sprinter shape.
We tried to remove as many dents as possible and get the body panels as close to their original shape as we could in order to reduce the amount of Bondo needed to get us the smooth finish we desired.
REINFORCING DOORS
Throughout the years of the doors on our van being opened over and over, the body panels had caved in due to the force of people pushing them. Therefore, there were large dents we needed to remove. We knew that later in our bodywork timeline we would fill these with Bondo in order to make the exterior pleasing to the eye again. However, we were concerned this would crack due to the rougher nature of shutting the doors and the panels flexing. In that event, we would be facing the same issue once again. For that reason, we welded in extra supports and welded the existing supports to the door panels.
MERCEDES GRILL SWAP
Our T1N Sprinter is actually a Freightliner model and the grill had already been de-badged. Based on our preference alone, we decided to replace the old damaged grill with a Mercedes grill. We were able to find the correct grill from Euro-parts San Diego. We also took some extra time to remove all the other badges in order for our new Mercedes design element to feel cohesive.
Once we did our test fit it became apparent that the specific Freightliner headlights (one of the only items we didn't opt to replace on the exterior) are different from both the Dodge and Mercedes model headlights. Consequently, this caused the grill to not be the perfect fit we had hoped. In order to fix the issue we cut some pieces from our van and modified the entire grill until we ended up with the ideal fit.
We never cut any pieces from the new grill. However, we did end up painting the bottom piece of the grill to match the existing trimmed pieces we were forced to keep. We really liked the black grill the way it was made, but the trimmed pieces on our van were currently white to match the van. For this reason, we chose to paint all the pieces and ended up with a more custom look.
In fact, if you follow the link to this part up above, there is even a disclaimer from Euro-parts San Diego explaining the issue that states: “Will fit Freightliner models only with modification, due to the different shaped headlights. The L-shaped metal moldings adjacent to each Freightliner headlight will need to be cut where it will butt up against the U-shaped metal molding under the grille. Once you install the grille on your Freightliner, you will understand where the vertical molding portions need to be cut.”
In order to better explain what we had to change and how it affected our final result, we have attached a helpful photo diagram below.

WINDOW TEST FIT & INSTALLATION
We chose to replace three out of the four current windows in the cargo area (future living area of our van). We chose to leave the window in our sliding door alone and replace the two on our back doors and the window parallel to our sliding door. We knew we wanted our new windows to open in order to give us the maximum amount of fresh air possible in the van, especially on a great weather day. Our search led us to Motion Windows, where we purchased all three of our new windows.
Our windows look and fit perfect now, but in order to get them there they actually required different things. The two windows for our rear doors required some slight trimming of the existing van metal in order to make the opening larger. On the other hand, the side window behind our passenger seat required us to add material to the van in order to make the opening smaller.
This test fit was an incredibly important step and we're so glad we thought to do it before the final coat of paint since we ended up welding in that extra material. We actually didn't put these windows in until one week after our final paint coat in order to be 200% sure the paint had cured properly. Therefore, the main point of this step is to stress the importance of trying out any new parts or components you're planning to incorporate to your van before the end. Just in case guys, you never know.
The photos and video below show a little bit more of our pre-installation process including: adding, trimming, and shaping material; as well as our final results.


RUST REMOVAL
There was some hidden rust we weren't aware of when we bought the van. The steps that lead into the front seats had collected water until it eventually rusted through on the drivers side. The undercoating was the only thing holding the steps together underneath the plastic, so we ended up having to weld in some replacement panels after we cut out the rust. We then used automotive seam sealer to make the new panels water tight.
Once we placed the cover of the steps back on, everything was good as new and hidden from the eye's view.


BONDO APPLICATION
From beginning to end, we used a total of one gallon of Bondo on the body of our van. Every area where we removed dents had to be smoothed over before our first layer of primer, which required many layers of this life saving product in-between sanding. Before diving into the detailed Bondo application process, it's crucial to highlight the importance of masking off areas to ensure the Bondo only goes where it's needed, protecting the rest of the vehicle from unnecessary filler or paint. Once we were satisfied with our progress, we primed the van in order to identify any low or high spots and added more to create an even smoother surface. After sanding once more, we used a square to pinpoint the difficult trouble spots that didn’t quite match the rest of the surface. The very last step, once we were 100% satisfied with the cohesive flat look of the van, was to use spot putty to fill in the smaller pin holes that were left by all the previous layers of the Bondo.
When we began this process, it was a lot of filling and sanding on the van. Later down the line we began priming the van in order to be sure we were getting the clean look we were hoping for, and we began only sanding and re-priming those severe spots until they matched the rest of the van’s exterior surface.
The photos below better explain all the stages of Bondo our van had to go through. This was the longest step in the entire process for us, as we had high expectations for how we wanted our van to look.


SEALING LEAKS
When we bought the van we knew it had some areas that were leaking we would have to address, but a couple areas surprised us (like the rusted steps listed above). The more we investigated the problem we had originally noticed, the more it didn't seem to add up. It turns out that the entire panel on the drivers side had been replaced, much to our surprise. When they removed the panel, it was not replaced properly and this was the root cause of all the leaks.
In order to fix this problem, we ground out the entirety of the old sealant and replaced it with 3M 5200. We chose to use this to seal the seams in the roof as well.
The adjacent photo shows the original, interior issue we noticed before we purchased the van.

PAINTING & PRIMING
From beginning to end during our restoration process, we primed the van on five separate occasions. Two out of those five times, we sprayed the entire van with a single coat. The other three times, we only primed the spots that required more Bondo and bodywork (which was discussed a bit up above in the Bondo section). We used air powered spray guns to apply our primer and paint, ensuring the spraying process was carefully planned. The primer we used was a high build epoxy primer that required a large diameter nozzle to spray correctly.
The paint was an industrial two part paint that we color matched to the best of our ability to Toyota Lunar Rock. Color was a difficult choice for us, which surprised us because we didn’t really expect it to be. Our first color choice fell through due to how it looked on top of our black primer, instead of white. Color matching our options really helped us because even from a designer standpoint, it was extremely difficult to imagine such a neutral color on a large vehicle in different lighting. We sprayed the entire top coat in one weekend over the course of two days in order to ensure the weather would be similar and the paint would cure the same color. We did all our painting outside so we had pollen season, bugs, and weather in general working against us. Despite these challenges, we hope the paint job will stand the test of time and maintain its aesthetic appeal. We removed all the doors and painted those, along with the van and hood the first day. The second day we painted the roof, along with adding our Raptor Liner at the bottom (discussed in the section below).
We’re incredibly pleased with how the paint turned out minus a few bugs, which give the van that much more character. The photos below highlight our priming and painting process.


RAPTOR LINER
We chose to spray the bottom section of our van with a truck bed liner, called U-Pol Raptor Liner. Personally, we wanted the van to have a more off road finish and we felt this helped us achieve that. Another reason we chose to spray raptor liner was to cover up some of the body work we did on the bottom of our van. This liner goes on very thick and has an extreme texture to it, which in return helped us hide any imperfections left in those areas.


WHAT OTHER CHANGES CAN YOU EXPECT TO SEE TO THE EXTERIOR OF OUR CAMPER VAN?
The listed steps above highlight all the exterior changes we found really important in the process of our restoration, potentially increasing the van's value for a future sale. Therefore, they were at the top of our timeline. The next exterior changes on our list are new tires and wheels, which have already been ordered. We’re incredibly excited for those in order to tie the design of our van together. After installing those, we’ll be taking a break from the exterior for awhile and moving to the interior.