Camper Van Interior Design: Final Thoughts
We are officially (and thankfully) at a point in our van build where the overall design is finally complete. Therefore, we thought it would be a great time to talk about what we absolutely love about our van and what we regret.
If you've been following along with us for awhile, you know that we were originally planning to complete our camper van around November 2020 and started our build (and restoration) at our previous home in South Carolina. However, we had a huge change of plans when Carver took a new job all the way across the country in California. We were going from a three bedroom, two and half bath house with a garage (that essentially was turned into our van build shop) to a small apartment. Due to this we put a huge rush deadline on our build and ended up getting to a mostly finished point in August 2020. This point didn't include finishing details such as trim, cabinet handles and other little things that were wants not needs. We finally finished off everything in December of the same year.
When we first began the interior of our camper van, I was naively under the impression that we could always renovate later, like a home. However, I was quickly told absolutely not due to the way everything was installed to basically never come out or move around. Fair enough, it's a moving vehicle and that was my first lesson learned. We re-designed our sketch up model at least fifty times (it seemed like), but the truth is you really just don't know what you're going to dislike until your van design is complete. Dislikes vary per person and there's always going to be a few sacrifices you have to make in creating such a small space. My hope to anyone that takes the time to read this is that our dislikes will help you design your own tiny home. It's important to note some of our dislikes are completely personal. Although they might have functioned, we simply didn't like the look of them.
Overall, we're pretty obsessed with our van and the way it turned out. It's been a long time coming and we're feeling very blessed to be a part of the van life community.
Kitchen
A few things didn’t quite pan out in our kitchen like we originally planned, but overall it’s an amazing space that we’re very proud of.
Let’s talk about what didn’t make the final cut and why:
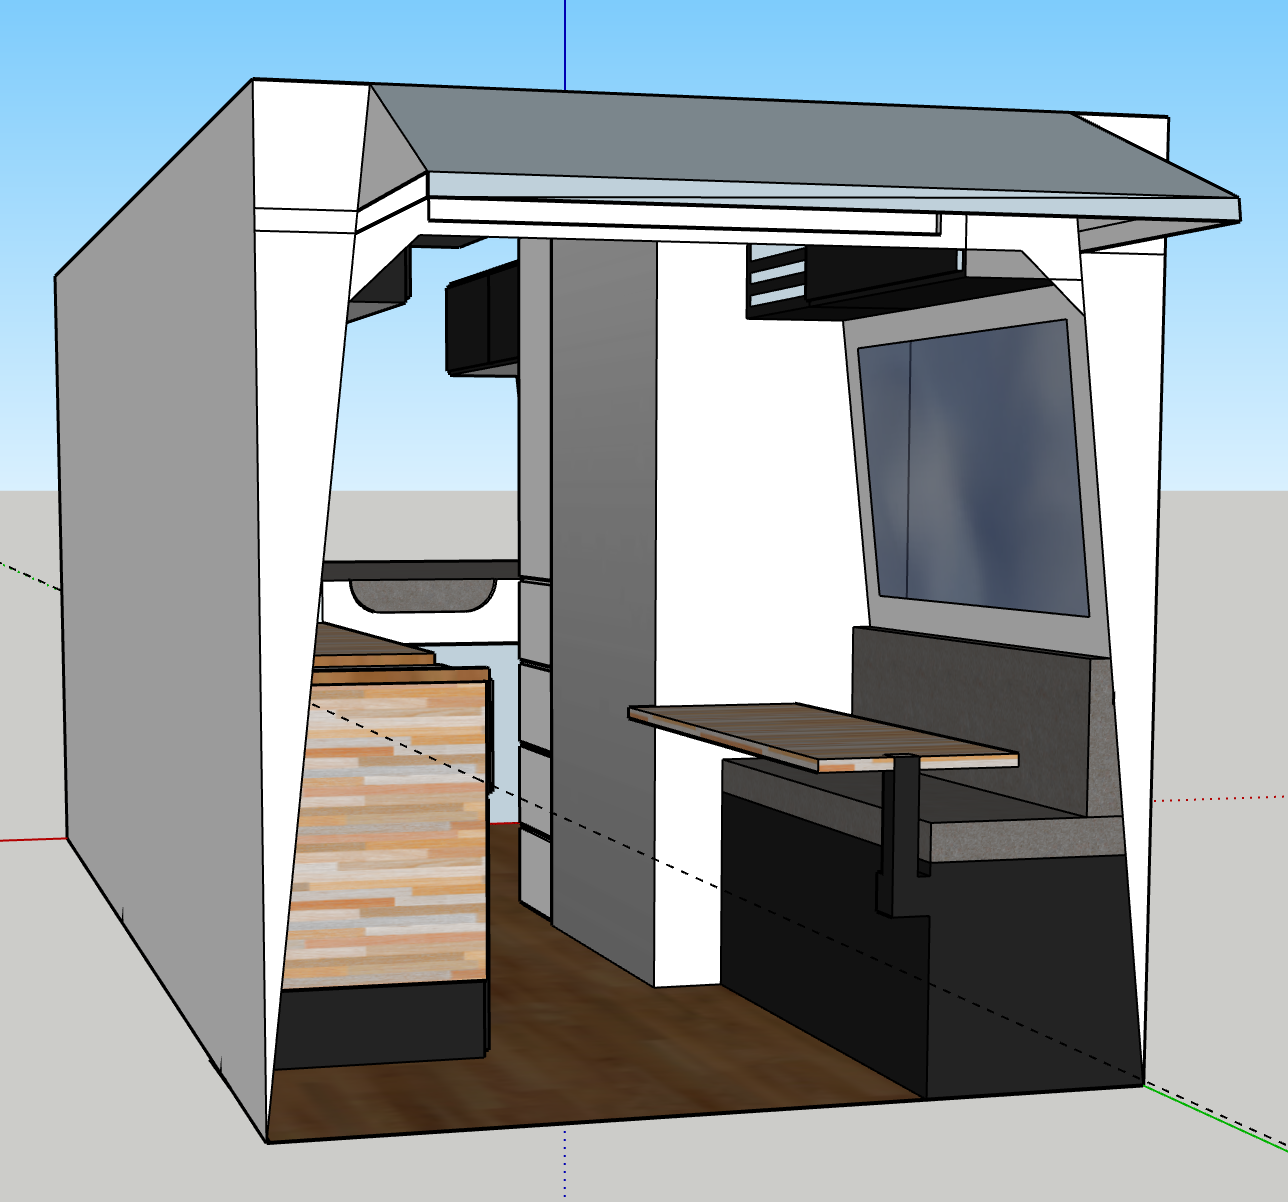
1) The extra counter space you see folded down in the sketch up model
We didn’t go with this extra counter space because we have an outlet on that cabinet face and we hardly have room as it is entering through our doorway. Deciding on the layout and size of kitchen furniture, such as cabinets and counters, was a critical part of our planning process.
2) The counter being able to fold down over the oven
We weren’t able to go with this useful design feature because the oven we bought really wasn’t made to do it. It sucks something so simple gave us less counter space, but at the end of the day a reliable oven/range is what’s important. In order to gain the space back from the oven install, we used the piece of countertop we cut out for the oven as a insert that fit on the top of the oven.
3) The floor to counter height fridge
This is one thing we really kick ourselves for because it would be SO incredibly helpful. However, it’s a van and you have to give up things to gain things. The reason we couldn’t do this is because we decided to create our kitchen cabinets with a toe kick.
Pro of toe kick- Obviously feels like you have more room in what is already a super narrow walkway
Con- Did I mention more fridge room would be amazing?? Let’s be honest, I’m a huge foodie and this is one of my biggest struggles in the van.
Appliance Links:
Oven (Our oven has been discontinued so we updated the link with what we feel is the closest replacement)
On the subject of the oven we probably wouldn’t install an oven in another van. At least definitely not the one we have. We’d probably use a different model from Dometic that gives more counter space or a Furrion. Our oven is nice, but there isn’t much room in the freezer to store things, such as pizza, and we’re still getting used to sheet pans and other items not fitting in there while we attempt to use it. We would most likely only include a range in our next build. However, we do love the range and would definitely keep it instead of going with an induction cooktop.
Bench Area, Bathroom, & Closet
Bench Area
Our bench area is a really nice storage space. However, to me personally, the kitchen area feels too cluttered and I wish we had made this slightly shorter and put the fridge next to it with extra counter top space. This is where the design really comes down to the pros and cons though:
Pro to the change- the design would look more aesthetically pleasing (to me personally), we'd gain some more kitchen storage, & more counter top space
Con to the change- we would lose some of this deep bench storage area. This is really the only storage space we have for large items besides our garage area, which can only be accessed from the outside of the van. The bench is especially useful for 50+ pound bags of dog food. We store both our dogs food in one side and most of our hiking gear in the other side.
Before full time living we really hope to make the actual cushion area larger on this bench, but still have it be able to fold up to the size it is now. It's absolutely fine for sitting, but not even remotely dog sized and impossible to lay down on. This is an example of a want and not a need. It functions just fine the way it is, but having it be a larger width would be icing on the cake. We're also hoping to put some sort of hinge on the bench instead of sliding it out each time. It's not the most convenient trying to access stuff in the bench while the incredibly large cushion is in the middle of the floor.
Closet
Zero complaints on our closet space. Even so, we often wish we had floor to ceiling closet space instead. This would be useful for items such as a small vacuum, large broom, and a much bigger trash can then we are currently working with. Currently, we have a few drawers underneath the closet that we use for various storage. Instead of a drawer at the bottom, we have a door that leads to a larger area that we use for shoe storage. Overall, we feel this area would be a lot more efficient and organized if we made the closet floor to ceiling with various shelves inside it.
Wet Bath
Our bathroom is pretty great. It's something we'd put in our next van without hesitation. However, design wise we got a few things wrong. We chose to use tic tac tiles and really personally dislike it for the space. I want to emphasize personally here, because we've seen it look amazing in other van builds, such as the.activ. We chose to extend our tile all the way to the ceiling, which is one reason I think it didn't go so well. If you go this route, my main advice would be absolutely do NOT rush the installation. Take your time and follow the directions about marking your lines. Besides the look of these guys, one reason I personally do not like them is because nothing can stick to the walls in the bathroom such as shower baskets, etc. This is more stuff we have to put in our cabinets and that's just a bummer.
Our design shows the bathroom gray because we initially planned on installing a Nautilus shower door, but ran out of time and budget. That's still on the “eventually” project list.
Our toilet has been really great and we don't have any complaints about it. We personally make an effort to only pee in it and so far that's been okay for us. We follow leave no trace principles or go in a public place otherwise. We would also probably make the bathroom large enough to leave the toilet in the pan while showering. We move it right now and it's not fun having a toilet in the middle of the floor in such a small space.
Appliance Links:
Bed & Bedroom Cabinets
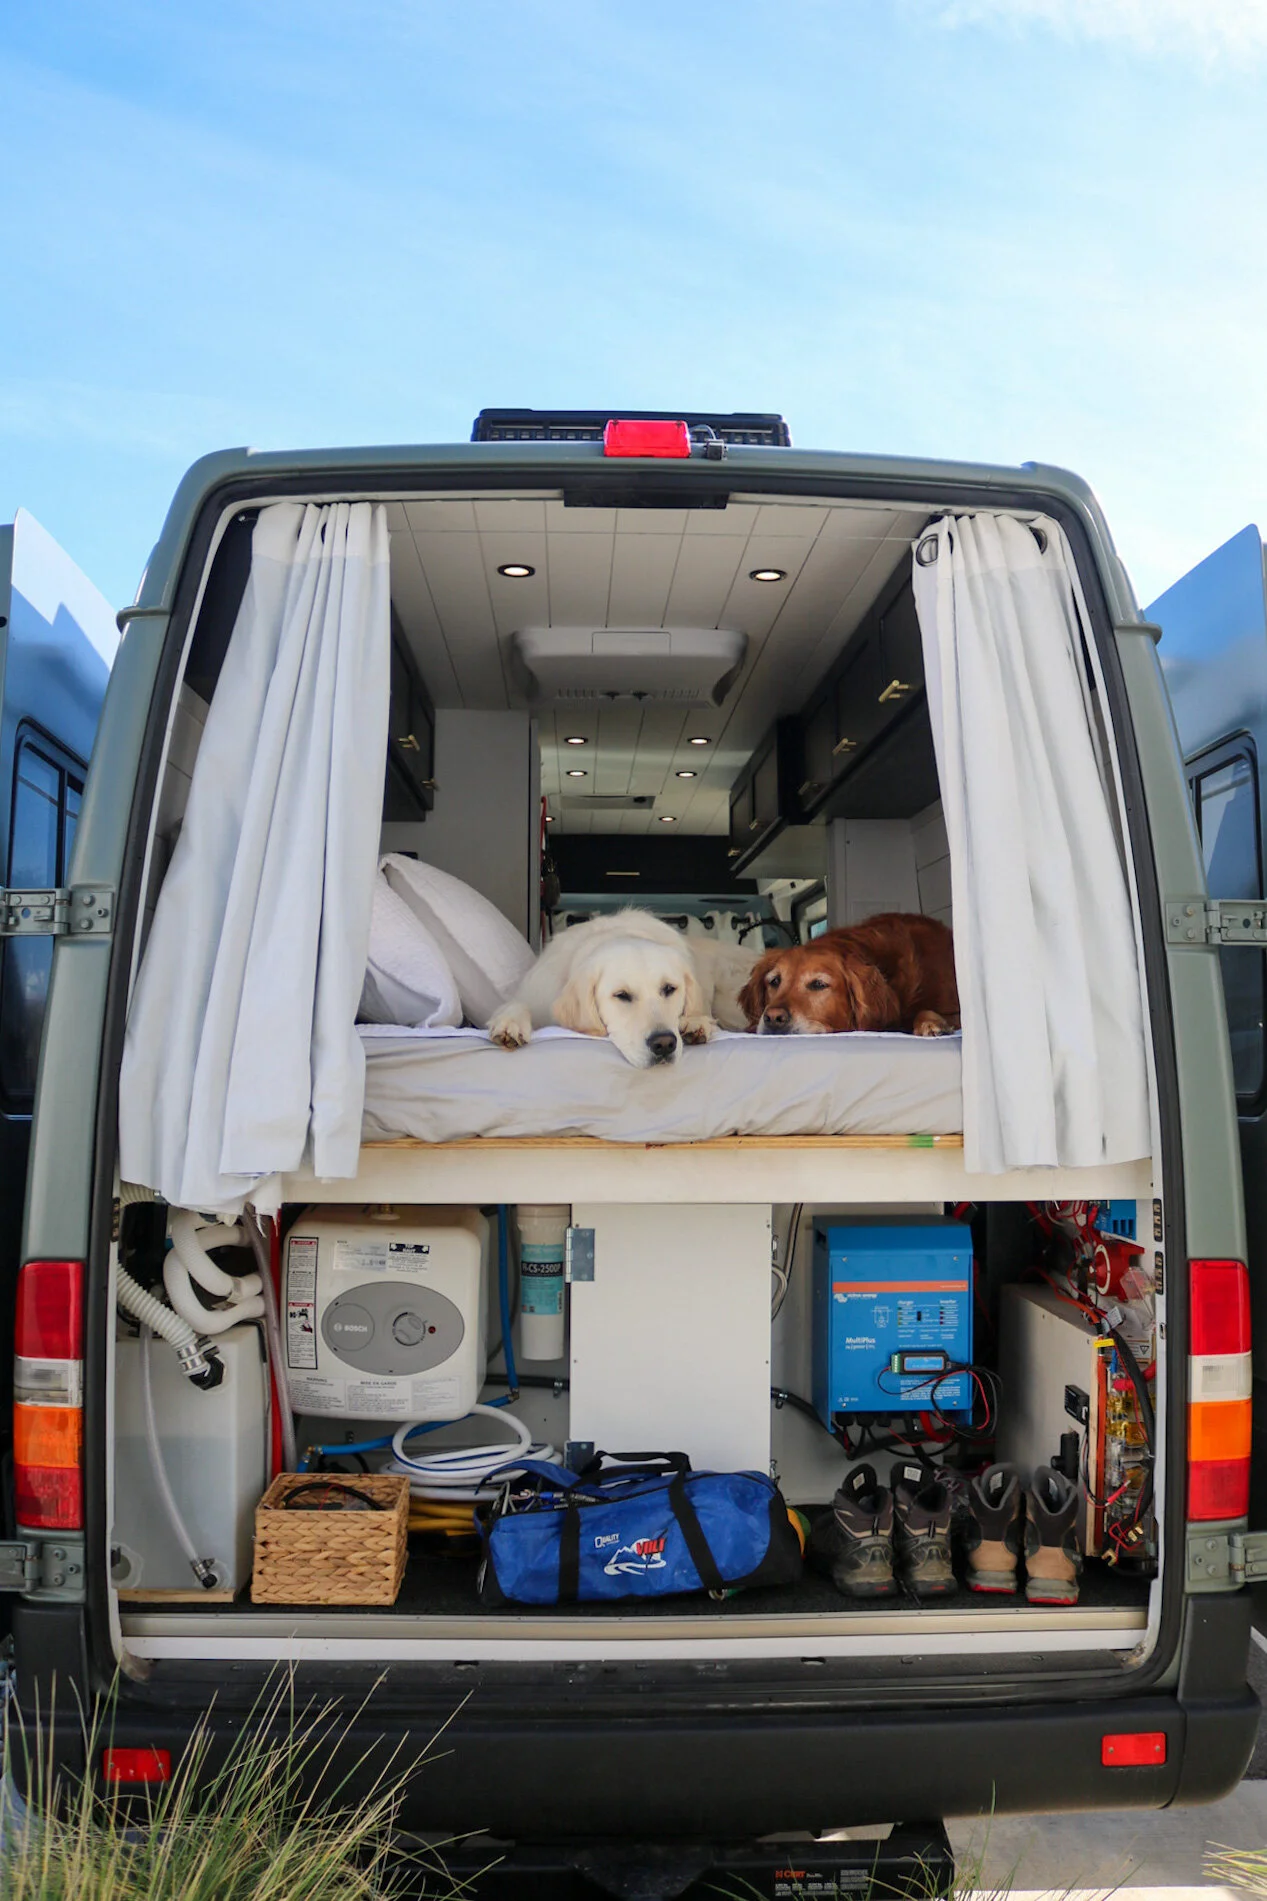
Our bed and bedroom cabinets came out pretty much exactly how we designed them, and overall we don’t have many complaints. To optimize our space and functionality, we incorporated innovative systems into the design of the bed and cabinets, focusing on unique features that not only save space but also enhance the usability of our sleeping area.
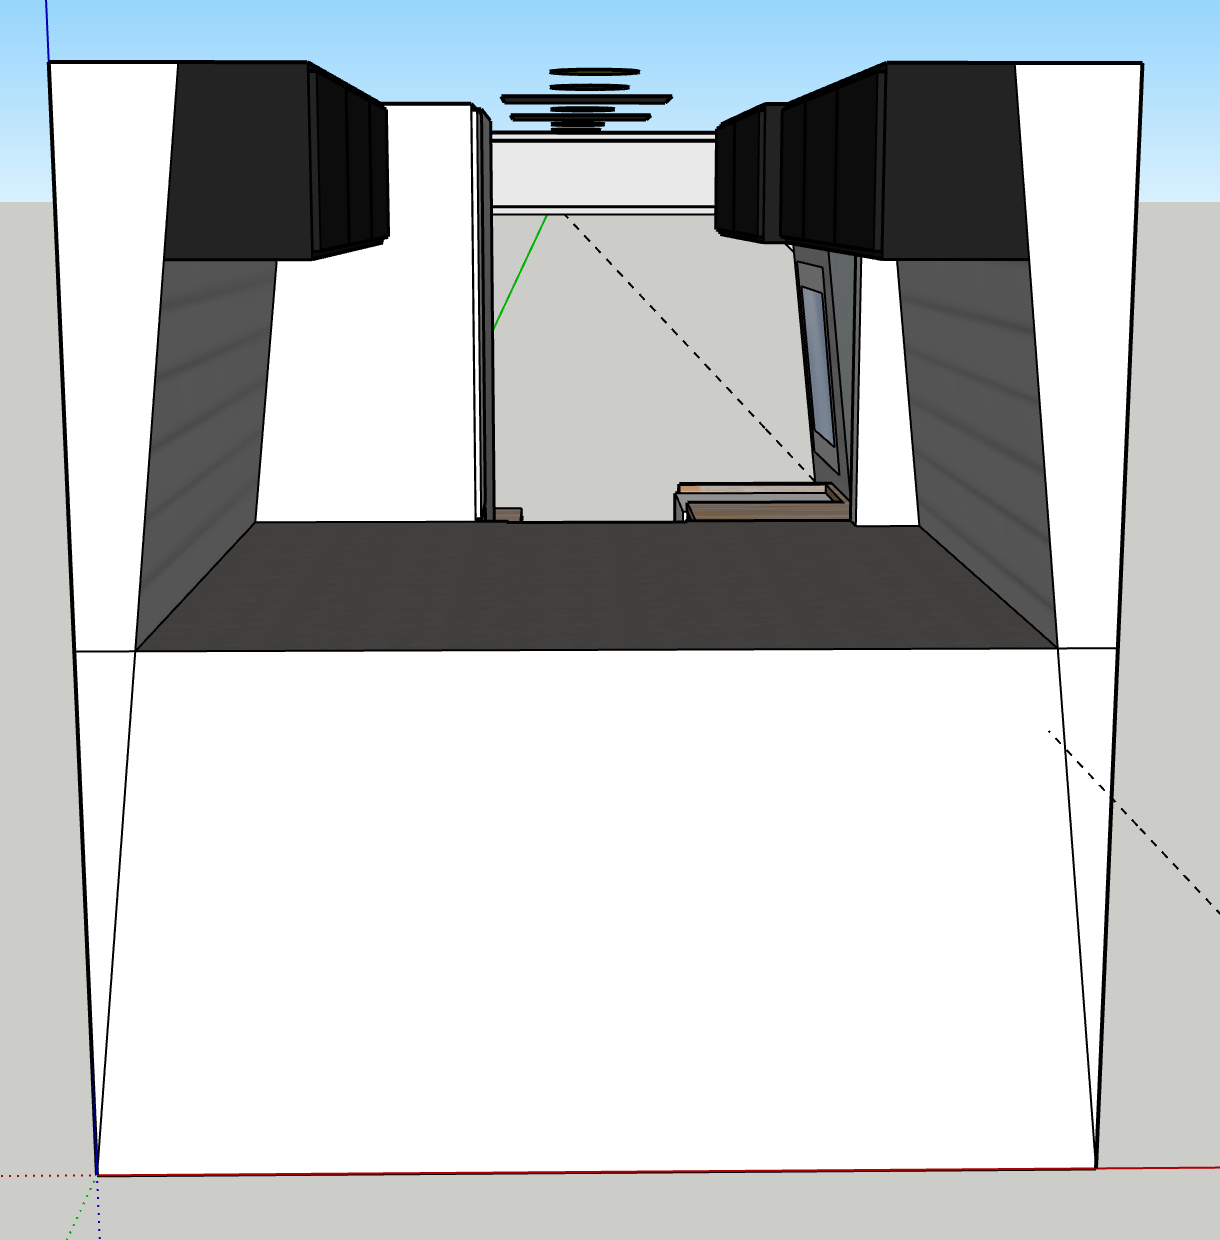
Our van is 158″ versus the newer 170″ or 170″ extended Mercedes vans. Due to this, if we could go back we may have installed some flare spaces in order to allow us to sleep sideways and make our bed significantly smaller. To be quite honest, we hadn’t heard about them until it was way too to incorporate in our interior design. This is something I’d always encourage people to think about if you aren’t already converting a van that’s wide enough to sleep sideways in. In hindsight, we also probably should’ve used the extra width we absolutely do not need for more storage. Instead of upper cabinets we could've installed a bed platform to ceiling dresser or even a laundry hatch. ALSO, on the subject of our bed it is freaking hard to get in and out of. If we ever build another van, we will probably put our seating area in front of the bed so it’s much more open to get in and out of.
We’re also complete newbies at this and had our mattress fitted to the custom, exact size. Guys, do NOT do that. This might seem like common sense, but in case it’s not and you have too many other things on your mind like we did, just throwing it out there. Leave a few inches on each side so you can make your bed without literally breaking a sweat each morning.
Lastly, we also mistakingly designed our cabinets to be as long as they could be, without remembering that we needed curtains back there. As a result of this, a curtain rod wouldn’t fit and we had to get creative and use some wire. It is what it is, but I guarantee you a curtain rod would be holding up a lot better than our wire situation (the curtains are starting to sag). If you want curtains, remember you need space for your curtain rod guys! That was a huge oops.
Misc. Notable Design Elements
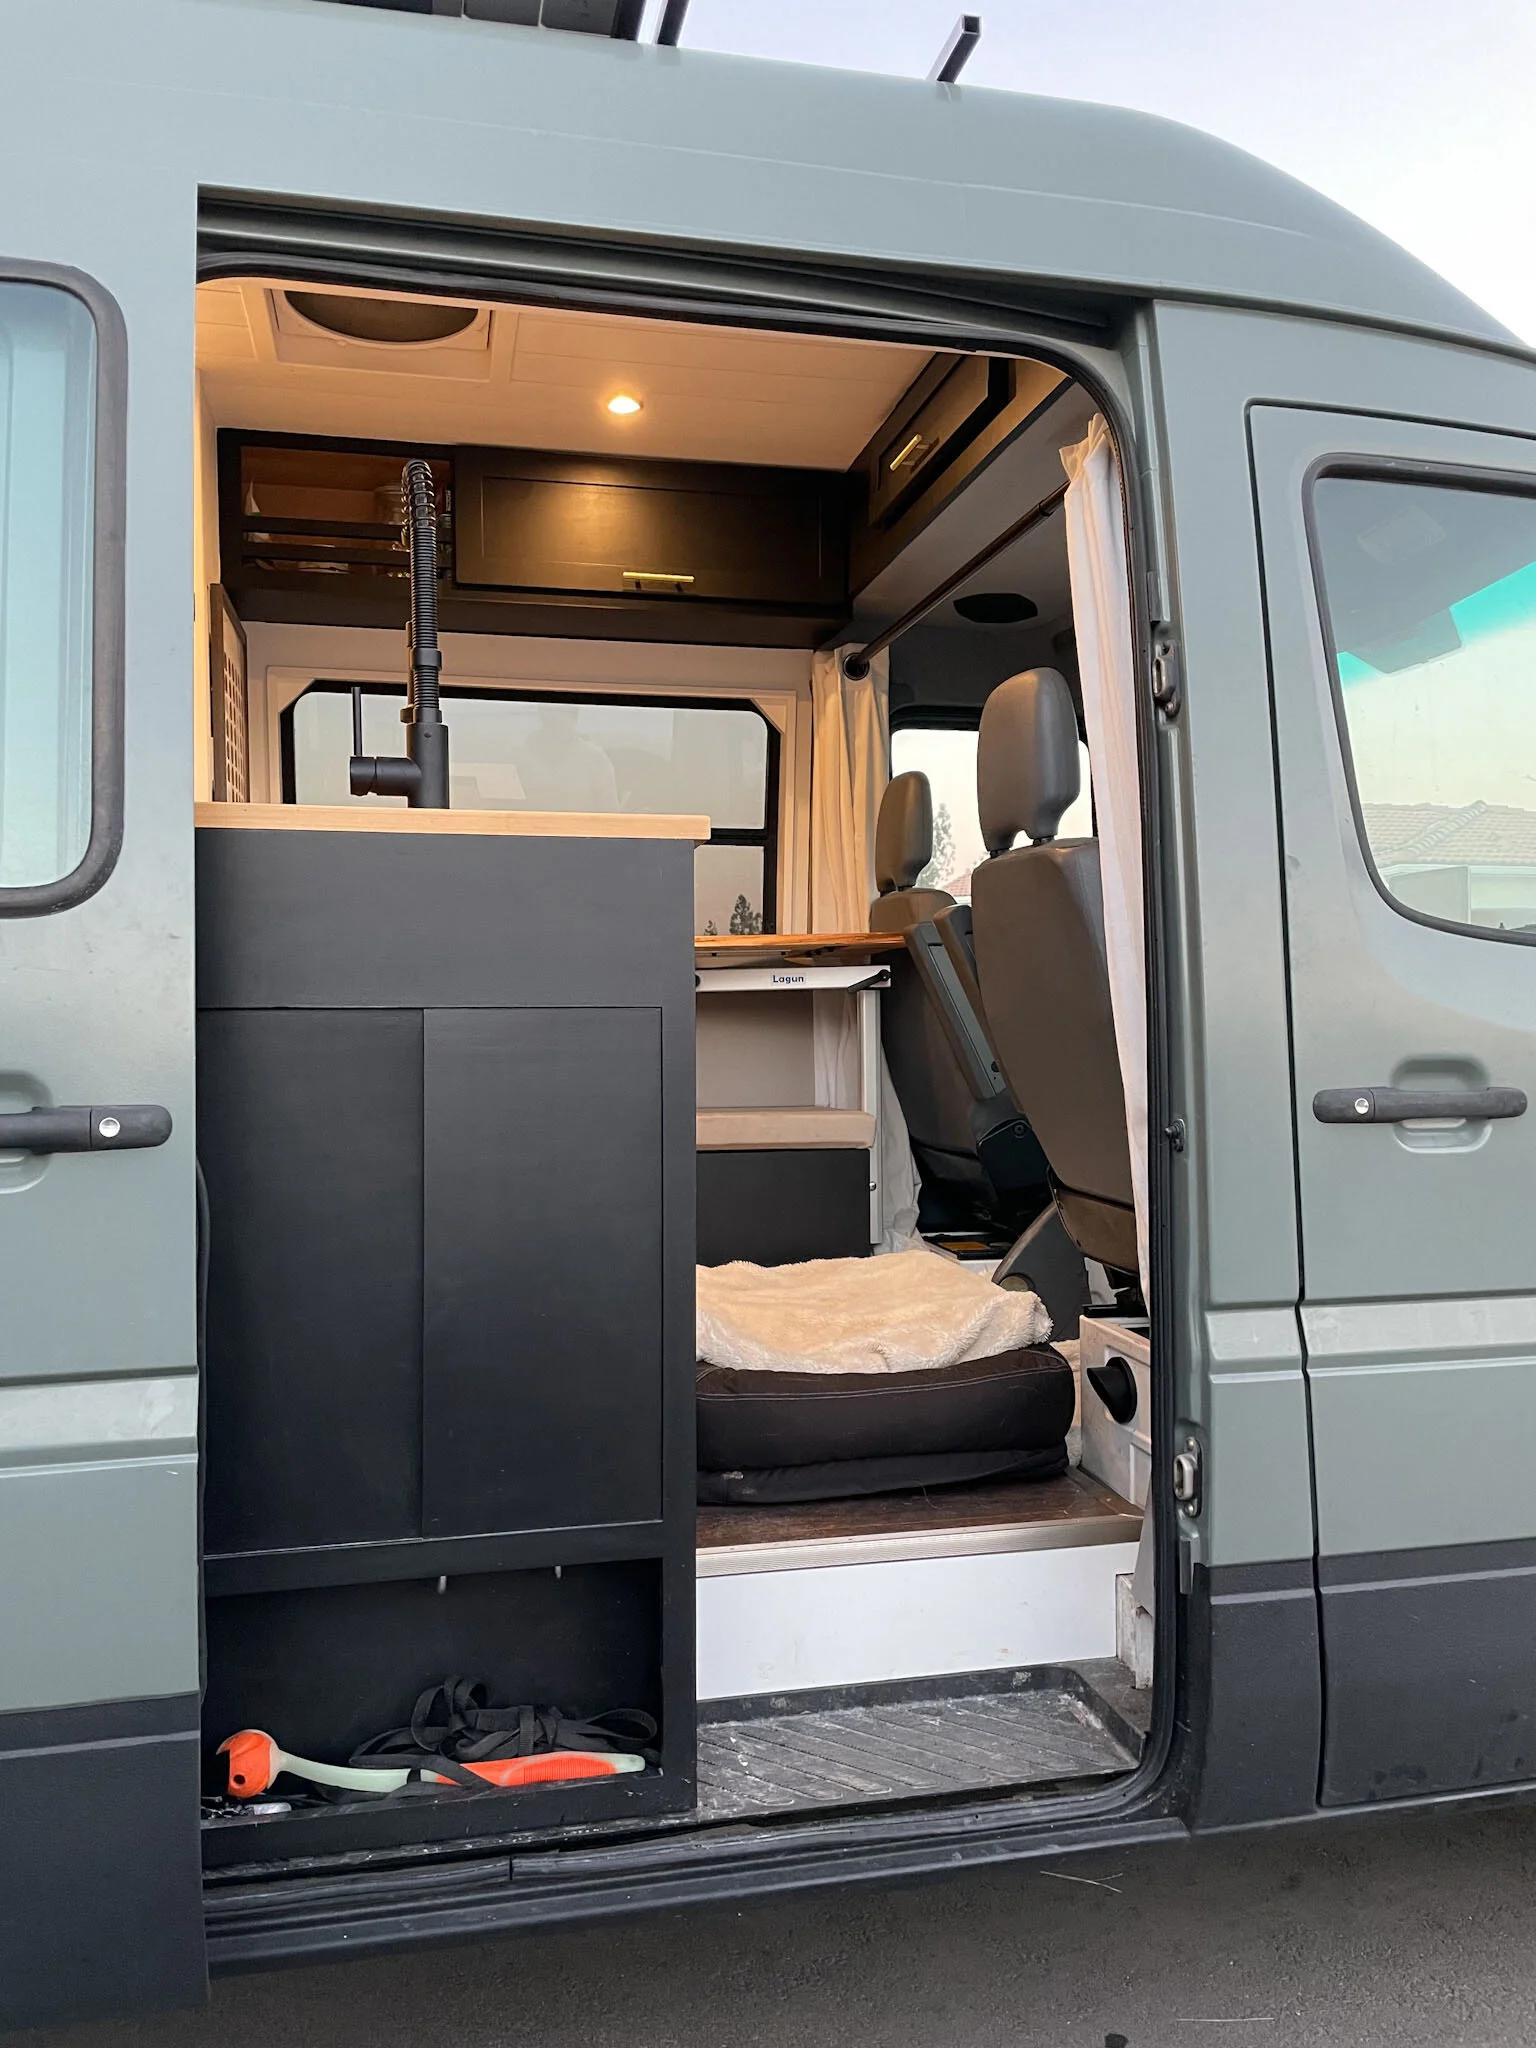
One of our favorite parts of the van, that wasn’t shown in our sketch up model, is our cabinet design that sticks out into our sliding door. This cabinet was planned with lots of dog friendly elements in mind. We attached two hooks for removable dog leashes so the pups could be safely clipped in while we might be in the van doing something else. Not everywhere is off leash friendly either, which makes this area really convenient for campgrounds. Also in our sliding door, we have a sprayer to wash off the dogs before they enter the van. We’re able to choose hot or cold water, so it’s suitable for reluctant dog baths in every season. The little area that’s safe and snug inside the van (but not accessible when the door is closed) is also a perfect place for dirty shoes, dirty dog harnesses, and the poop shovel let’s be honest.
And while we’re talking dog friendly, I think it’s important to mention we purposely designed them their own large bed under our own.
